Hazelnut Butter Mochi

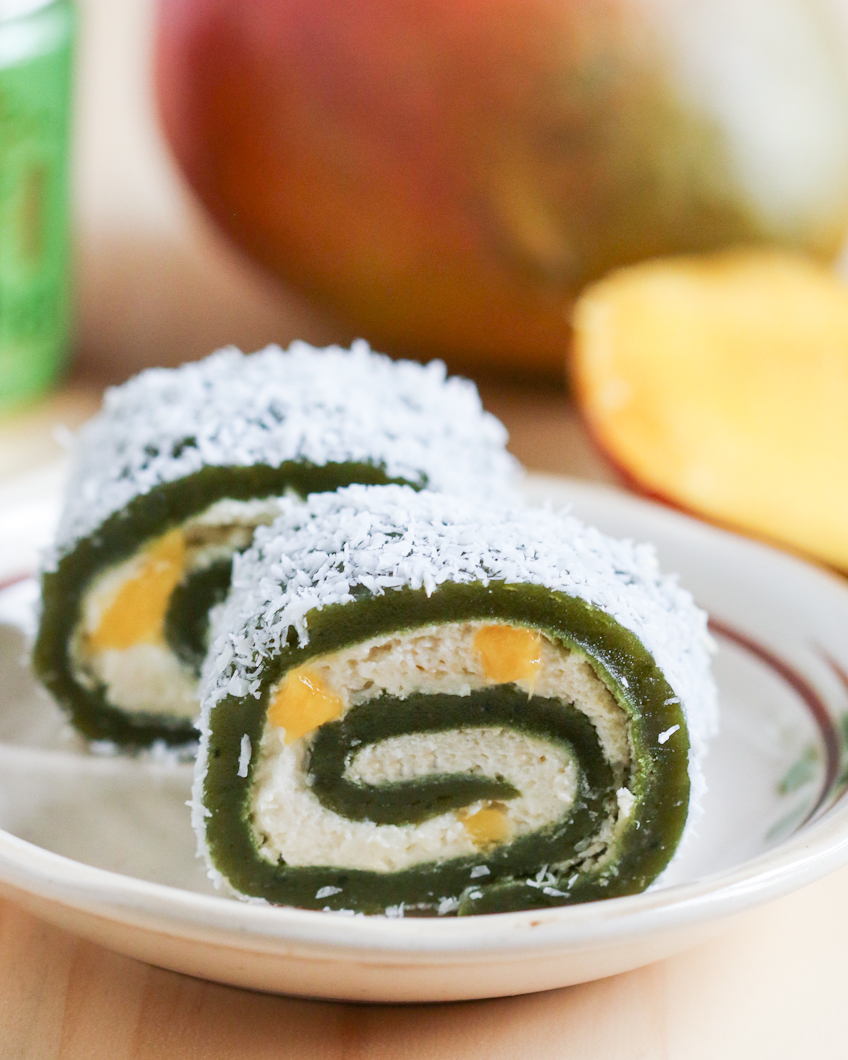
Like many mochi lovers, every now and then I have to get my mochi fix in. After posting about MochiCream over the weekend, the urge to make some of these chewy, pillowy treats was more than I could resist.

What started out as a recipe to use up the last can of sweet red bean paste hiding in the back of my pantry soon took a turn for the delicious when a jar of hazelnut butter caught my eye. Could I fill my mochi with hazelnut butter? Sure I could…and the results were amazing!I ended up using Justin’s, a brand of hazelnut butter with less sugar than the more popular brand of Nutella. The consistency of this nut butter is closer to that of a red bean paste–thicker, less goopy, and better able to hold it’s shape.

If you wanted to used Nutella for this recipe, no prob: simply spoon it out in round blobs onto a sheet of parchment paper. Place them into the freezer to harden ahead of time, and when it’s time to stuff the mochi, you’ll have a neat little balls of goodness to wrap into the cooked rice dough. 
Despite my efforts to make mochi making neater, and the end of the day, it’s a truly messy affair. If you’ve ever worked with powdered sugar or cornstarch before then you’ll know what I’m talking about.

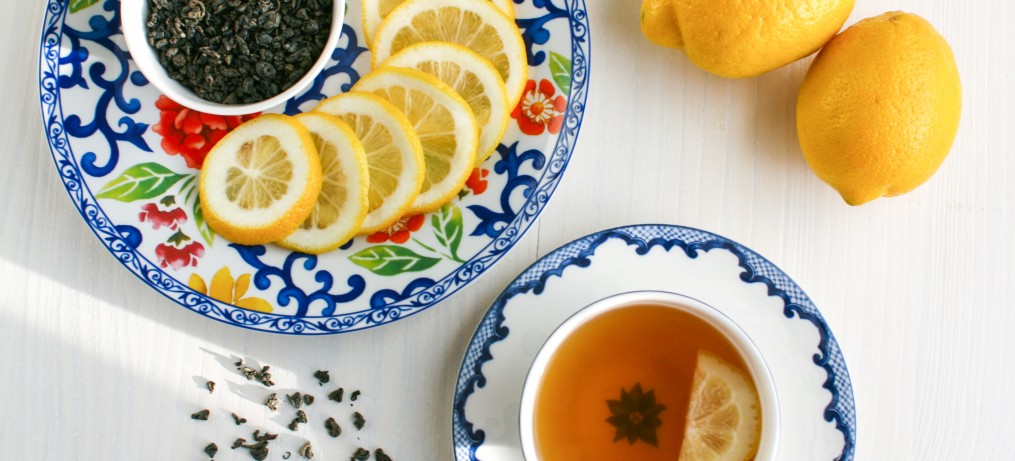
My best recommendation for making these is to wear white, from head to toe. If you are dressed in black (like I was) you’ll be looking like a hot mess post-mochi making. Luckily, nobody will care if you hand them one of these nutty, chocolately rice cakes to munch on before they can say anything! Serve them with a cup of Chocolate Pu’erh from Chambre de Sucre for a rich pairing. 

Hazelnut Butter Mochi

Makes 15 pieces.

Ingredients:

8 oz mochiko (sweet rice flour)

1 can coconut milk

1/4 cup water

1/2 cup white sugar

1 Tbsp vanilla

1-16 oz jar chocolate hazelnut butter (I used Justin’s)

katakuriko (potato starch), for dusting work surface

non-stick coconut or vegetable oil spray

Equipment:

medium bowl

whisk

rubber spatula

microwaveable 9 x 13 rectangular casserole dish

sharp knife

large work surface

1 1/2 Tbsp measure

15 mini cupcake liners

Directions:

1.) In a medium bowl, combine the mochiko, coconut milk, water, sugar, and vanilla and whisk thoroughly until you get a homogenous batter.

2.) Pour batter into a casserole dish evenly sprayed with non-stick oil spray. Distribute the batter evenly. Uncovered, microwave the batter on high for 1 minute at a time, stirring and mixing the batter in between each minute until it becomes a semi-translucent dough. When the dough is finished it should not look powdery or whitish at all. In this step you are cooking the rice flour, looking for the rice dough to be homogenous and cooked through. My dough took about 7 minutes to cook through. Spoon this blob of cooked rice flour dough on to a work surface generously dusted with katakuriko.

3.) Divide the dough into 15 equal pieces using a sharp knife. The dough will be hot, so be careful.

4.) Dust each piece with katakuriko to prevent them from sticking to one another.

5.) To make the mochi, roll one piece of the dough into a ball. Flatten the ball into a round disk, about 3 1/2″ across. Spoon 1 1/2 Tbsp of the hazelnut butter into the center of the disk, then pinch the opposite edges of the disk together to seal the mochi.

hazelnut butter mochi 10

6.) Flip the sealed mochi over to reveal a smooth, rounded top. Repeat this process to make 15 stuffed mochi. Place the pieces into small cupcake liners for easy serving. Mochi are best eaten within a day or two, and can be stored at room temperature. 

Matcha Mango Mochi Rolls

Microwave and mochi may not seem like they belong in the same sentence, but yet here it is…Microwave Matcha Mango Mochi Rolls!  Could there be any more m’s in a recipe?

Traditional Japanese sweet rice cake is made from steamed glutinous rice, which is pounded into a paste and shaped to create the chewy, sticky mouthful referred to as mochi.  As authentic as it is to use a steamer to make mochi, there are many other more convenient methods you can use to make mochi, including the stove top, the oven, and even the microwave!  The microwave an ideal place to cook this treat, as any slight degree of overcooking is masked by the fact that mochi already has a characteristic chewiness about it.

These mochi rolls are the not-as-cold and not-as-sweet version of mochi ice cream.  What’s great about them is that don’t require any fancy filling techniques like those needed when making traditional filled mochi.  I make the Matcha Mango Mochi Rolls as I would cinnamon rolls–just spread a cooked mochi sheet with a layer of mango cream, then roll up, chill, and cut with a sharp serrated knife.  If you’ve allowed the roll a proper amount of time to set up in the fridge, you’ll end up with beautiful mochi slices with specks of fresh mango studded throughout.

I love that something as traditional as mochi can be made so simply in the microwave, within minutes.  For the whipped cream filling, feel free to substitute any fruit that you love…strawberries, peaches, or even bananas will work well.  And if you can’t find the freeze-dried fruit, just add more of the fresh fruit.  The filling can also easily be replaced with canned smooth red bean paste, which results in a much more traditional tasting mochi roll.

Matcha Mango Mochi Rolls

Makes 12 pieces.

Ingredients:

{Mochi Sheet}

4 oz. sweet rice flour (mochiko)

3/4 cup water

1/3 cup sugar

1 tsp vanilla

1/4 tsp baking powder

1 Tbsp matcha powder, sifted

non-stick vegetable oil spray

1 cup dried, unsweetened, shredded coconut

{Mango Cream}

1/2 cup cream

2 Tbsp sugar

1/4 cup freeze-dried mango, ground to a powder in spice grinder

1/4 cup fresh, firm mango, peeled and diced into pea-size bits

Equipment:

microwaveable 9 x 13 rectangular casserole dish

2 medium mixing bowls

rubber spatula

hand-held mixer or whisk

spice grinder

peeler

work surface

large rectangular dish or baking sheet

serrated knife

Directions:

1.)  In a medium bowl, combine mochiko, baking powder, and matcha powder.  Add in water, sugar, and vanilla and mix in thoroughly until you get a homogenous batter.

2.)  Pour batter into casserole dish evenly sprayed with non-stick vegetable oil spray, distributing the batter evenly.  Microwave on high for 5 minutes, or until the mochi sheet is set and a toothpick comes out clean.

3.)  Let the mochi sheet dry to room temperature, then carefully ease out of casserole dish using a rubber spatula.  If it is easier, loosen one half of the mochi sheet, then the other half.

4.)  On top of a work surface, scatter 1 cup of desiccated coconut.  Distribute the coconut evenly into a 9 x 13 rectangle so that the mochi sheet will lay on top of it without making contact with the work surface.  Lay the sticky side of the mochi sheet on top of the coconut. The stickiness of the mochi will cause the coconut to adhere, creating the outer covering for the mochi rolls.

5.)  Make the mango cream by first whipping the heavy cream.  Add the sugar and whip until you get stiff peaks.  Fold in the dried mango powder and the fresh mango bits.

6.)  On the dry side of the mochi sheet, use a rubber spatula to apply an even 1/4″ thick layer of the whipped cream atop the entire sheet of mochi.

7.)  Like you would making cinnamon rolls, take one long side of the mochi sheet, then gradually and tightly roll up until you get a finished, long mochi roll.  Set the roll on a large rectangular dish or baking sheet seam side down, then cover with plastic wrap and set in fridge to chill for at least 2 hours.

8.)  After the roll is properly chilled, remove from the fridge and use a serrated knife to cut out 12 equally-sized pieces of mochi.  Store airtight in the fridge, where the mochi will last 2-3 days.

Pumpkin Butter Mochi

My trip over to Little Tokyo a few weeks back inspired this Pumpkin Butter Mochi recipe.  As the leaves are turning and fall is officially in full swing, this sweet rice cake pairs a traditional Japanese tea snack with a classic autumn fruit…pumpkin!

I’ve chosen to use pumpkin butter in this recipe, but a spiced canned pumpkin pie filling will work just as well.  Pumpkin butter is a bit thinner and more acidic than pumpkin pie filling, although both typically have the same spices (cinnamon, cloves, nutmeg) mixed in.  Because pumpkin butter has more acidic liquids like lemon or apple juice added in, it’s less starchy and less sweet than its counterpart.  I actually find the “fruit butter” idea confusing, because fruit butters like pumpkin butter generally don’t contain fat.

Enjoy these pumpkin butter mochi with a cup of clean, grassy sencha or a toasty cup of houjicha–a roasted green tea.  It’s really important not to overbrew Japanese green tea, so 2-3 minutes at 175 degrees is ideal.  Overbrewing green tea will result in a bitter, harsh tasting liquor, so if you enjoy green teas it’s a good idea to invest in a temperature controlled electric kettle or even just an instant thermometer.  You’ll be able to keep those subtle, umami notes of Japanese green teas that will pair harmoniously with these chewy, lightly sweet pumpkin butter mochi.

Pumpkin Butter Mochi

Makes 12 cakes.

Ingredients:

8 oz sweet rice flour (mochiko)

1 1/2 cups coconut milk

2/3 cup white sugar

1 Tbsp vanilla

1/3 cup pumpkin butter or spiced pumpkin purée

katakuriko (potato starch) or cornstarch

non-stick spray

Directions:

1.)  Preheat oven to 350 degrees F.  In a medium mixing bowl, mix together rice flour, coconut milk, sugar, and vanilla, and mix rigorously with a spoon or wire whisk until the mixture is homogenous.

2.)  Give the muffin pan a thorough, even coating of non-stick spray.  Spoon 1 1/2 Tbsp of the mochi batter into each cavity, and place in oven to bake for 10 minutes.

3.)  After 10 minutes, remove the muffin pan from the oven and let cool for 5 minutes.  Use the back of a teaspoon or other utensil to indent a small, shallow “ditch” into each of the mochi cakes (I used the handle of a jam spreader).

4.)  Spoon 1 tsp of pumpkin butter or spiced pumpkin purée into each shallow mochi cake “ditch,” then cover the filling with 1 Tablespoon of the remaining mochi batter.  Spoon this remaining batter on carefully so that the pumpkin butter or purée is fully covered.

5.)  Bake the filled mochi cakes in the oven for an additional 15 minutes or until cakes are very slightly puffed and surface is dry to the touch.  Let mochi cakes cool completely in pan before removing.

6.)  After cooled and removed from the pan, generously coat the mochi with katakuriko or cornstarch on a dry work surface, then use a wire mesh sieve to shake excess starch off of the cakes.  Mochi cakes are best eaten within a day or two of baking them.  You can store them in the fridge for a slightly longer shelf life, but this will result in a slightly stiffer textured mochi cake.

Equipment:

12 cavity standard non-stick muffin or tart pan

wire mesh sieve

rounded teaspoon measure or other similar utensil

Step-By-Step:

Use a lightened coconut milk for a lighter textured mochi cake

Mix the rice flour, coconut milk, sugar, and vanilla together

You will get a thinned pancake batter consistency

After the first 10 minute bake you will see the edges slightly part from the muffin tin, but the centers won’t be fully set yet

Create some “ditches”

1 tsp of pumpkin butter only…resist the temptation to over-fill

Cover the filling with the mochi batter completely for a fully sealed mochi cake

Potato starch, similar to cornstarch and equally messy

Potato starch is like cornstarch and equally messy

Shake off the excess!

Shake off the excess

Autumn, Japanese style.

Love these Japanese mochi cakes?  Check out my post on Japanese tea and wagashi here.